


Sand Blasters
Discover the power and precision of POLLOR’s Sandblaster collection — engineered for tough surface preparation jobs and professional-grade results. Whether you’re stripping paint, removing rust, or prepping surfaces for coating, our range of sandblasters offers reliable performance, durable construction, and user-friendly design. Ideal for workshops, automotive tasks, industrial use, and DIY projects alike.
Explore models built to handle a variety of media types and project scales — because every surface deserves a clean slate.
Showing the single result
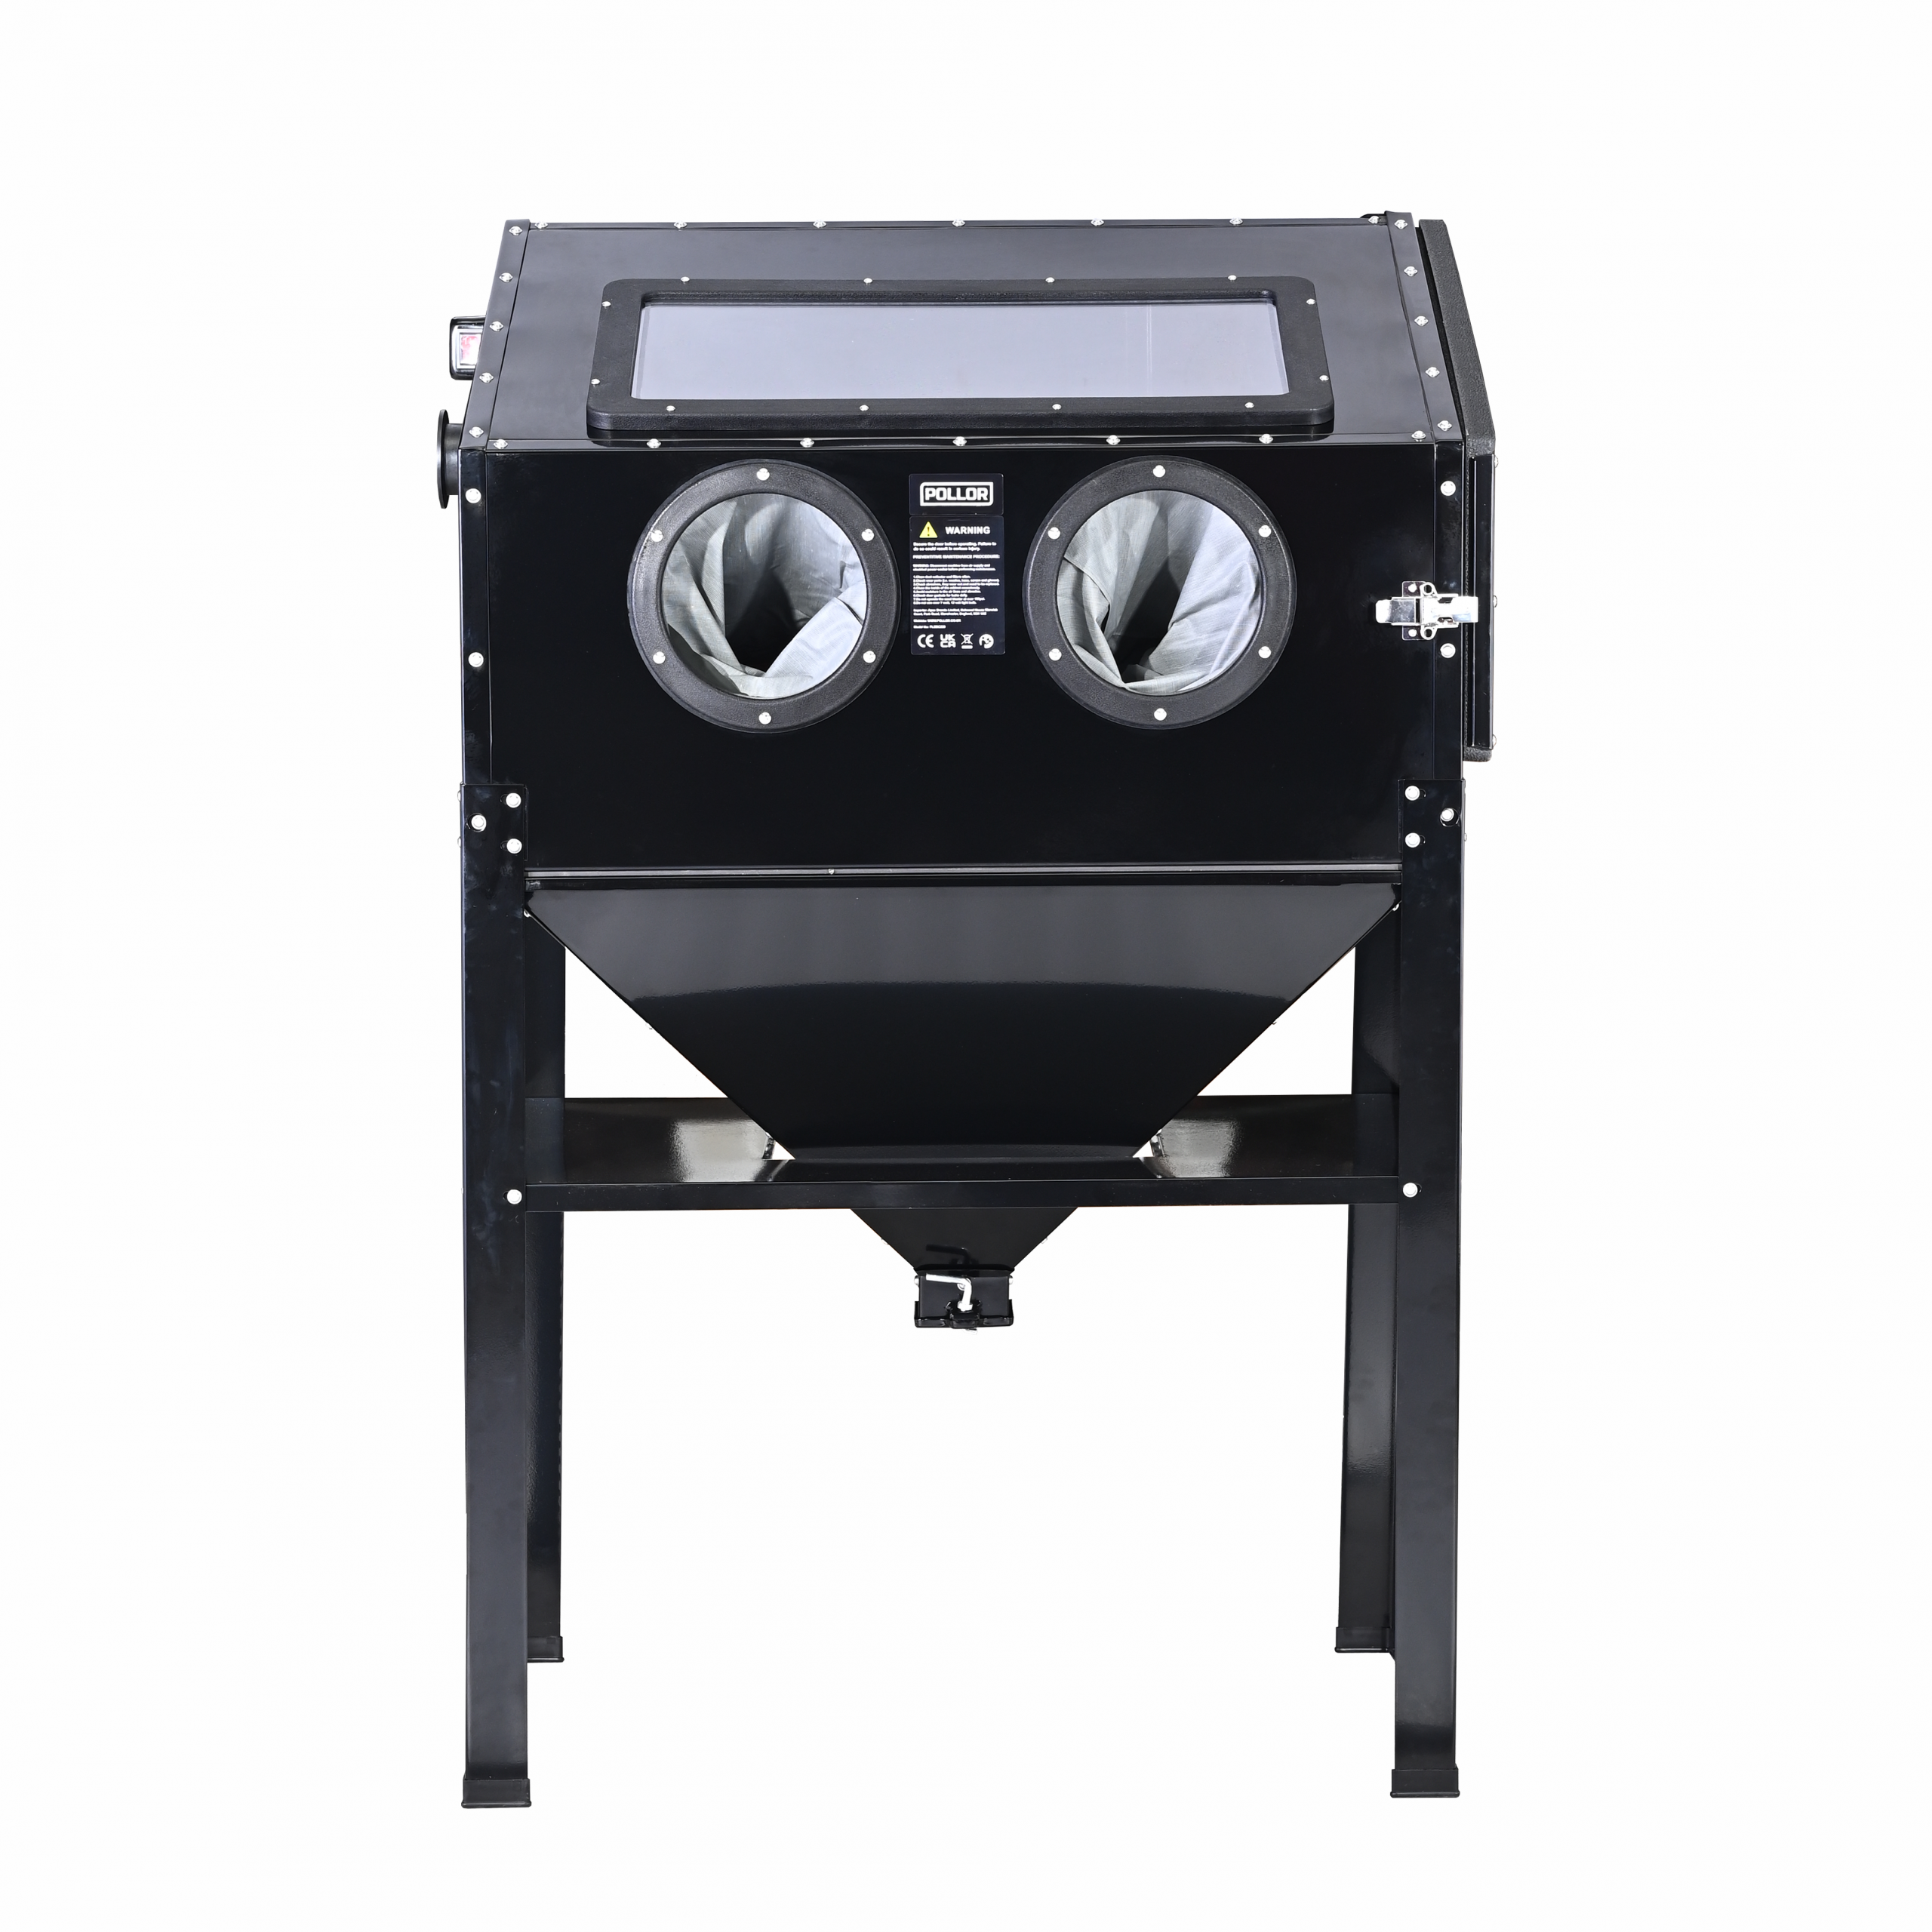
POLLOR 220L Heavy Duty Sand Blasting Cabinet Sand Blaster Abrasive Grit Shot Blast With LED Light
Original price was: £239.99.£199.99Current price is: £199.99. £199.99 Add To Basket

How to Use a Sandblaster: Step-by-Step Guide
Whether you’re removing rust, stripping paint, or etching glass, using a sandblaster can save hours of work and deliver a cleaner, more precise finish. This guide walks you through the safe and effective use of a sandblaster.
✅ What You’ll Need
A POLLOR sandblaster (cabinet, portable, or gravity-feed model)
Air compressor (compatible with your sandblaster’s PSI/CFM rating)
Abrasive media (e.g., aluminum oxide, glass beads, garnet, walnut shells)
Safety gear (goggles, respirator, gloves, long sleeves)
Clean work area (preferably well-ventilated or a blast cabinet)
🛠️ Step 1: Choose the Right Abrasive Media
Select media based on your project:
Glass Beads – for gentle cleaning and polishing
Aluminum Oxide – for aggressive rust/paint removal
Walnut Shells – for delicate surfaces (like wood or aluminum)
Silica Sand (with caution) – effective but hazardous without proper protection
🔌 Step 2: Set Up Your Equipment
Connect the air compressor to the sandblaster.
Fill the hopper with the chosen abrasive media.
Check hoses and fittings for air leaks or blockages.
Adjust air pressure – typically 60–100 PSI, depending on your model.
🧤 Step 3: Gear Up for Safety
Wear goggles or a full face shield.
Use a heavy-duty respirator or mask.
Cover exposed skin.
Ensure proper ventilation or use a sandblasting cabinet.
🎯 Step 4: Start Blasting
Test on a scrap surface.
Hold the nozzle 6–12 inches from the surface.
Use smooth, overlapping passes.
Keep the nozzle moving to avoid etching too deeply.
🧹 Step 5: Clean Up
Turn off and depressurize the unit.
Empty and store unused media properly.
Clean the nozzle and filters.
Dispose of used media safely.
⚠️ Pro Tips
Always match your compressor’s output to your sandblaster’s needs.
Use dry air – moisture in the system can cause clogging.
Regularly inspect and replace worn parts for optimal performance.
For detailed maintenance or product-specific instructions, refer to your POLLOR sandblaster manual.